After upgrading to OS X 10.9 Maverick, i’ve to reinstall PHP library and reconfigure it. Oracle OCI8 is one of PHP libraries which need to be reconfigured.
Today i spend more than 2 hours just to find out how to enable Oracle OCI8 in PHP 5.4.24. So I post it here just in case i have to reconfigure it again, i don’t have to feel the pain again.
Lets Start!
- Download Oracle Client Library from http://www.oracle.com/technetwork/topics/intel-macsoft-096467.html
You have to download 3 files:- instantclient-basic-macos.x64-11.2.0.3.0.zip
- instantclient-sqlplus-macos.x64-11.2.0.3.0.zip
- instantclient-sdk-macos.x64-11.2.0.3.0.zip
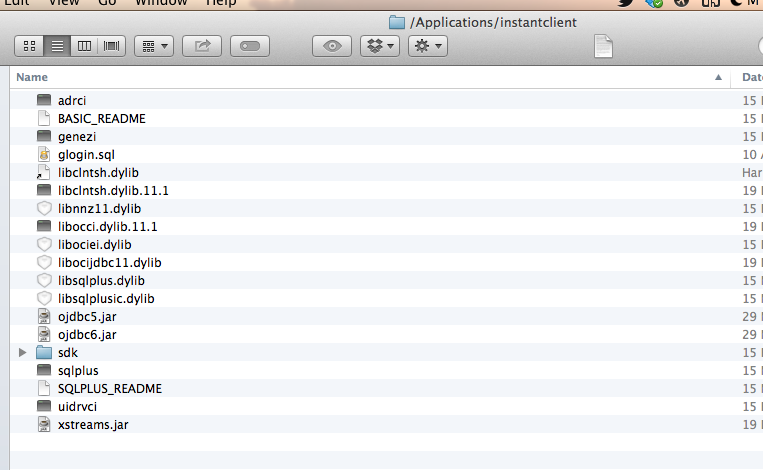
After downloading 3 files above, you have to extract instantclient-basic and instantclient-plus zip files into one folder, for example in “/Applications/instantclient”. And then create folder named “sdk” inside that folder, and extract instantclient-sdk into it. And then add symbolic link using this command in Terminal:
ln -s libclntsh.dylib.11.1 libclntsh.dylib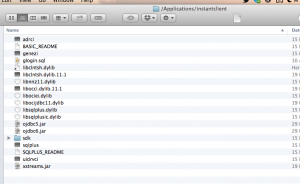
Oracle Instant Client folder (click picture to enlarge).
- Download oci8 tar PECL package from http://pecl.php.net/package/oci8
After downloading package from pecl, extract it anywhere you like. And then open “Terminal” and go to that folder. Then run commands below.phpize
./configure --with-oci8=shared,instantclient,/Applications/instantclient
make
sudo make installEdit “/Applications/instantclient/” to the path where you extract Oracle Instant Client (point 1).
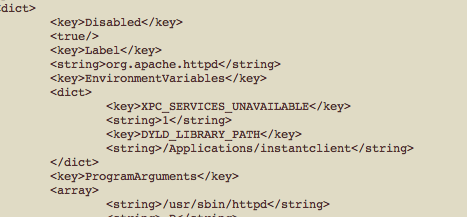
- Edit Apache plist file on /System/Library/LaunchDaemons/org.apache.httpd.plist
Open Apache plist using text editor and then find Environment Key section. Add DYLD_LIBRARY_PATH key and your Oracle Instant Client folder as value.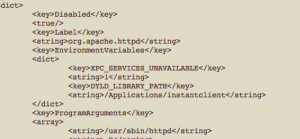
Editing Apache plist File
- Open your /Users/yourusername/.bash_profile file using text editor, then add “export DYLD_LIBRARY_PATH=/Applications/instantclient/” (without quotes) at the end of file.
- Edit your php.ini and add “extension=oci8.so”
- Open terminal, and run this command : sudo apachectl restart
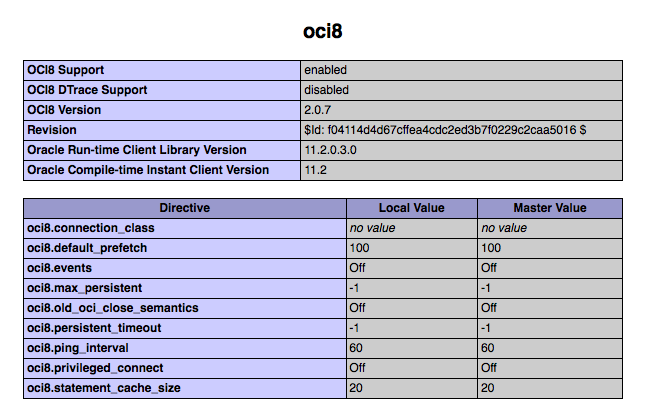
- Done! Open PHP Info
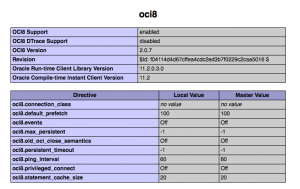
oci8 has been installed
UPDATE:
If you still not getting it to work, check Sarah’s comment below.


 Saya lebih dulu berkenalan dengan